Docusaurus - Integration with Tailwindcss


This is a tutorial for those who, like me, love working with Docusaurus and want to take full advantage of Tailwind CSS.
Well, you can't keep writing CSS by hand every time you need to align a div, add rounded borders, and all those other repetitive things. Not to mention the time that takes — time we could be spending on what really matters: shipping features, building things, or in my case, writing this content for you =D.
Before we get started, here is a brief explanation of each tool:
What is Docusaurus?
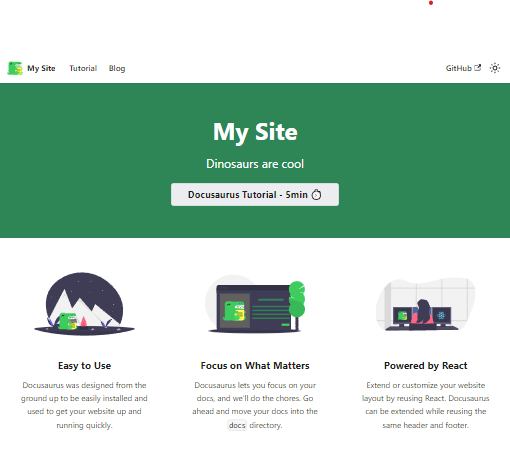
Docusaurus is a tool for quickly building optimized static websites, with a focus on your content. It uses Markdown and React to create documentation, blogs, and marketing sites. You can extend and customize your project's layout by writing React components. Docusaurus is loved by many engineers for its ease of use and features like document versioning, content search, and translation.
What is TailwindCSS?
Tailwind CSS is a utility-first CSS framework, meaning it provides low-level CSS classes that can be composed to create any design. It is fast to develop with, since developers don't need to write much custom CSS. It is easy to customize, as developers can use their own CSS classes or modify existing Tailwind CSS classes. It promotes consistent design by providing a set of CSS classes that are easy to use and maintain.
Installing Docusaurus
Run the command below to install Docusaurus:
npx create-docusaurus@latest my-website classic
Folder structure
my-website
├── blog
│   ├── 2019-05-28-hola.md
│   ├── 2019-05-29-hello-world.md
│   └── 2020-05-30-welcome.md
├── docs
│   ├── doc1.md
│   ├── doc2.md
│   ├── doc3.md
│   └── mdx.md
├── src
│   ├── css
│   │   └── custom.css
│   └── pages
│       ├── styles.module.css
│       └── index.js
├── static
│   └── img
├── docusaurus.config.js
├── package.json
├── README.md
├── sidebars.js
└── yarn.lock
Navigate to the project and start it:
cd my-website
yarn run start// start the project
By default, a browser window will open at http://localhost:3000.
The project is now running. The next step is to install Tailwindcss.
Installing Tailwindcss
Run the command below:
yarn add -D tailwindcss postcss autoprefixer
Now you need to initialize the Tailwind configuration by running the command below:
npx tailwindcss init
Configuring Tailwindcss
After installation and initialization, a tailwind.config.js file will appear at the root of the project.
This file contains all the customizable configuration for the project with Tailwind — you can add other plugin options and much more. Here is a configuration example:
import { fontFamily } from "tailwindcss/defaultTheme"

/** @type {import('tailwindcss').Config} */
export default {
  content: [
    "./components/**/*.{js,ts,jsx,tsx}",
    "./app/**/*.{js,ts,jsx,tsx}",
  ],
  theme: {
    extend: {
      fontFamily: {
        heading: ['var(--font-heading)', ...fontFamily.sans],
        body: ['var(--font-body)', ...fontFamily.sans]
      },
      colors: {
        border: 'hsl(var(--border))',
        primary: {
          DEFAULT: 'hsl(var(--primary))',
          foreground: 'hsl(var(--primary-foreground))'
        }
      },
      borderRadius: {
        xl: `calc(var(--radius) + 4px)`,
        lg: `var(--radius)`,
        md: `calc(var(--radius) - 2px)`,
        sm: `calc(var(--radius) - 4px)`
      }
    },
  },
  plugins: [],
}
The file above contains some possible configuration options. Many others exist, but my goal here is not to explain this configuration in depth — just to make it work. This TailwindCSS configuration file is set up to:
- Scan specific files in defined directories to generate CSS classes.
- Extend the default theme with custom fonts, CSS-variable-based colors, dynamic rounded borders, and custom animations.
- Support easy maintenance and adjustment of style properties using CSS variables, ensuring flexible integration with the application's global design.
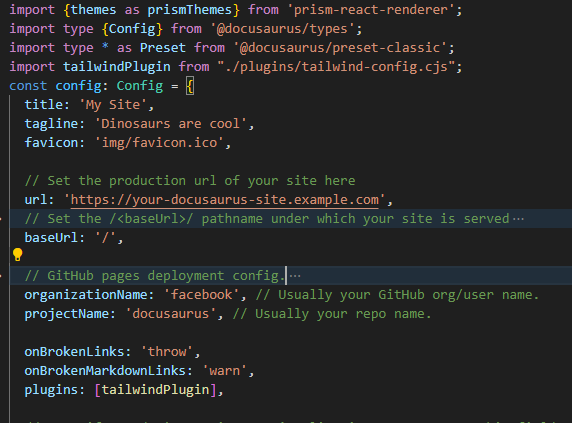
Now you need to edit the docusaurus.config.js file to add the TailwindCSS configuration. This file is at the root of the project and contains all Docusaurus configurations — it is through this file that you can install plugins, for example.
To make plugin maintenance and creation easier, create a plugins folder at the root of the project and add the tailwind-config.cjs file.
my-website
├── blog
├── docs
├── src
├── static
│   └── img
├── plugins
│   └── tailwind-config.cjs
├── docusaurus.config.js
├── package.json
├── README.md
├── sidebars.js
└── yarn.lock
Add the code below:
function tailwindPlugin(context, options) {
  return {
    name: 'tailwind-plugin',
    configurePostCss(postcssOptions) {
      postcssOptions.plugins = [
        require('postcss-import'),
        require('tailwindcss'),
        require('autoprefixer'),
      ];
      return postcssOptions;
    },
  };
}

module.exports = tailwindPlugin;
The code defines a plugin for TailwindCSS that integrates several PostCSS plugins. The tailwindPlugin function configures PostCSS to use postcss-import (for importing CSS files), tailwindcss (for design utilities), and autoprefixer (for browser compatibility). The plugin is then exported as a module to be used in other parts of the application.
Once that is done, you need to edit the Docusaurus configuration to allow the addition of the plugin we just created:
Loading Tailwindcss
The plugin is now configured, so we can load Tailwind alongside the system's CSS. Let's edit the /src/css/custom.css file by adding the following CSS code at the beginning of the file:
/**
 * Any CSS included here will be global. The classic template
 * bundles Infima by default. Infima is a CSS framework designed to
 * work well for content-centric websites.
 */
@tailwind base;
@tailwind components;
@tailwind utilities;

/* You can override the default Infima variables here. */
:root {
  --ifm-color-primary: #2e8555;
  --ifm-color-primary-dark: #29784c;
  --ifm-color-primary-darker: #277148;
}
// ..
Usage
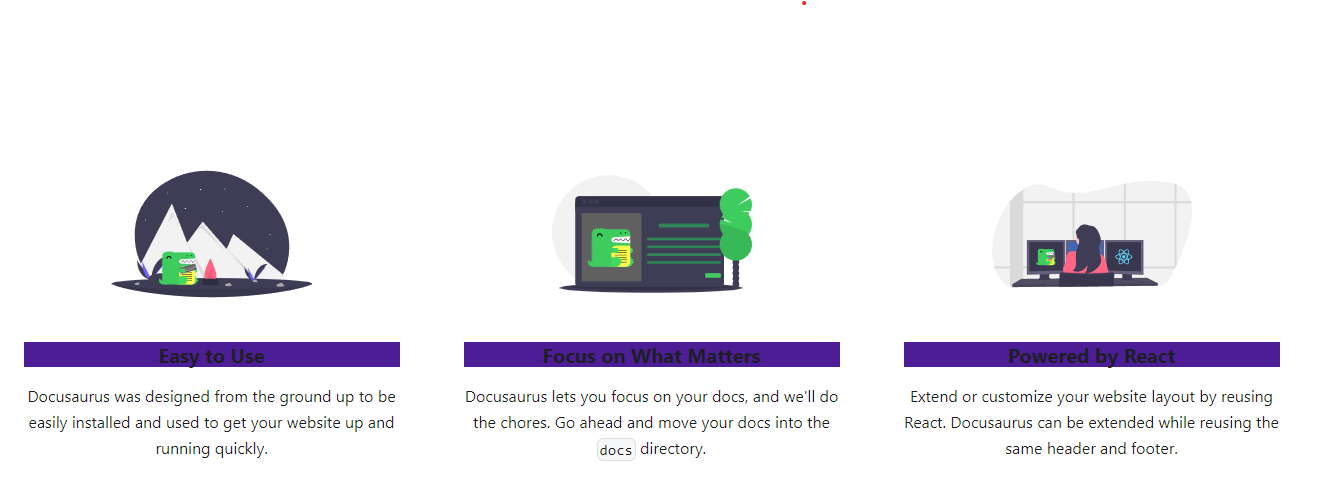
Done! Everything is configured — just restart the project and start enjoying TailwindCSS alongside Docusaurus.
<div className="text--center padding-horiz--md">
  <Heading as="h3" className="bg-violet-900">{title}</Heading>
  <p>{description}</p>
</div>
Conclusion
This is a very simple way to take full advantage of the TailwindCSS library within Docusaurus, combining the best of both worlds. The usage example I showed was very simple — I just wanted to demonstrate that it works. Now it's time to explore the documentation to better understand all the available features.
If you want to see the project on GitHub, check out the repository.